A noisy ceiling fan can be a frustrating issue to deal with, but before you call in a professional or replace the fan altogether, there are a few DIY tips on how to fix a noisy ceiling fan at home to fix the problem. With a little bit of troubleshooting and some basic tools, you can fix your noisy ceiling fan and have it running smoothly again in no time.
Graana.com has prepared some tips that you can follow to fix noisy ceiling fans at home.
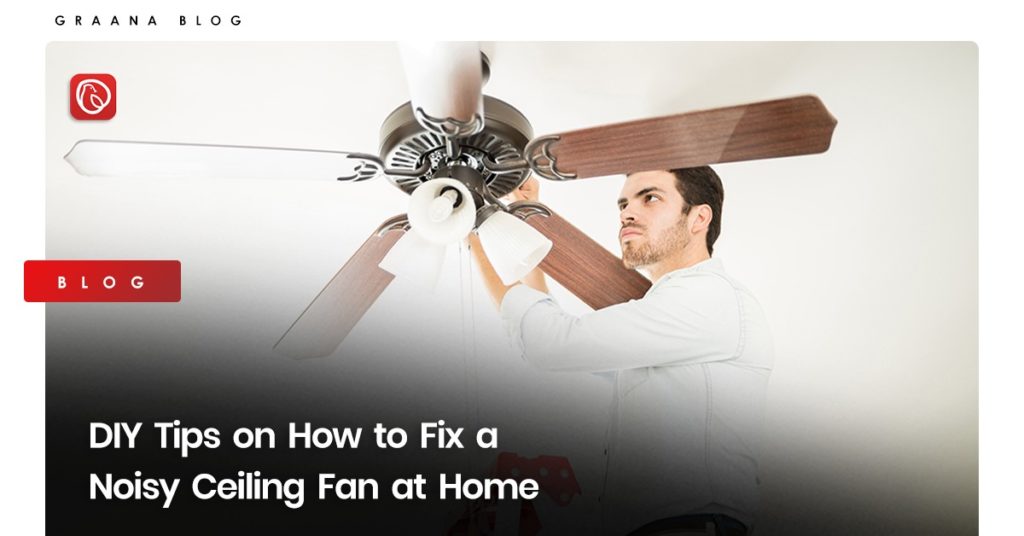
How to Fix a Noisy Ceiling Fan at Home
Following are some of the ways you can get rid of noise from your ceiling:
- Try cleaning the blades of your ceiling fan
- Get the faulty dimmer fixed
- Check your UPS connection
- Balance your ceiling fan blades
- Tighten Every Loose Screw
- Try Replacing the Bad Capacitor
- Lubricate your fan motor
- Poorly positioned motor cover
- Loose light fixture parts
- Replace the old ceiling fan with a new one
Try Cleaning the Blades of Your Ceiling Fan
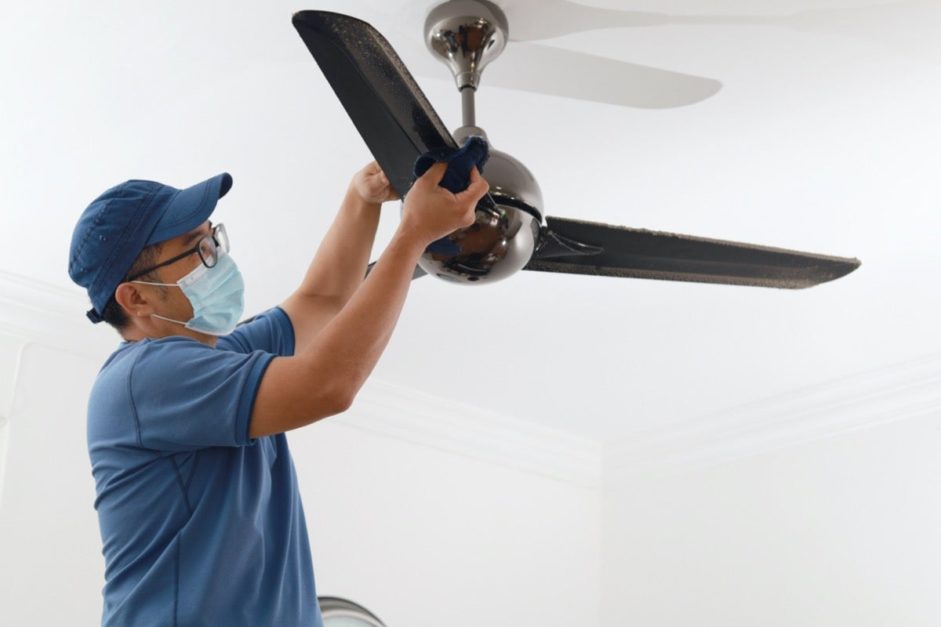
If your ceiling fan is making unnecessary noise, the blades might be the issue. This usually arises when the blades get dirty or something gets spilt on them. To fix this issue, you need to clean the blades with a mixture of warm water and dish soap.
Then, let them dry before attaching them back to your ceiling fan. This will help eliminate any noise caused by dirt buildup within the blades. If that doesn’t solve your problem, then try putting a bead of clear silicone around each blade to keep it from making noise.
Get the Faulty Dimmer Fixed
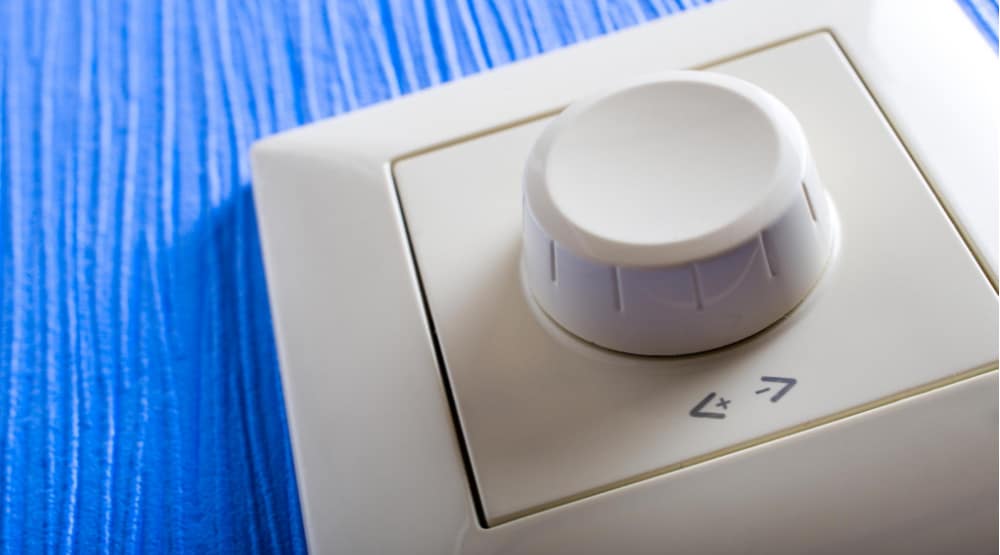
The most common cause of noisy ceiling fans is the dimmer switch. If the dimmer switch is not working correctly or has broken down completely, it can result in loud humming noises coming from your ceiling fan.
This happens when the speed at which the blades rotate changes rapidly. You can fix this issue yourself, and one way to do so is by replacing the dimmer switch with another one that works properly.
Check Your UPS Connection and Wiring
The power supply unit (PSU) is a device that connects to your electrical outlet and transfers electricity from the mains to your home. A loose connection can cause the PSU to produce unnecessary noise, which in turn causes the fan to become noisy as well.
If there is a loose connection somewhere in your ceiling fan, it can cause a humming or buzzing noise. It’s easy to fix if you know where the problem lies. Once that’s done, look at where the wires are coming into your house. You should see a white wire with a red plug on one side (the neutral wire) and a black wire with an orange plug on the other side (the ground wire).
If you don’t see these wires, it means that your house doesn’t have an outlet for them. In this case, you would need to run new wires from your breaker panel into each room that needs an outlet for its fan.
Balance and Adjust Your Ceiling Fan Blades
Your ceiling fan needs to have balanced blades to ensure smooth operation. The blade’s centre is weighted, and there are small weights at the ends of the blades that help balance them out. If the fan isn’t balanced properly, it can result in vibrations and noise. You can fix this problem by adding more weight or removing weight from one side of the blade.
You might want to try adjusting them first before buying a new set of replacement blades. This is especially true if you live in an apartment or condo where there aren’t many options for replacing parts like this without major renovations being done on the building itself.
You can adjust your ceiling fan’s blades by using a level or ruler to ensure they are perfectly perpendicular to each other and at equal height from ground level.
Tighten Every Loose Screw
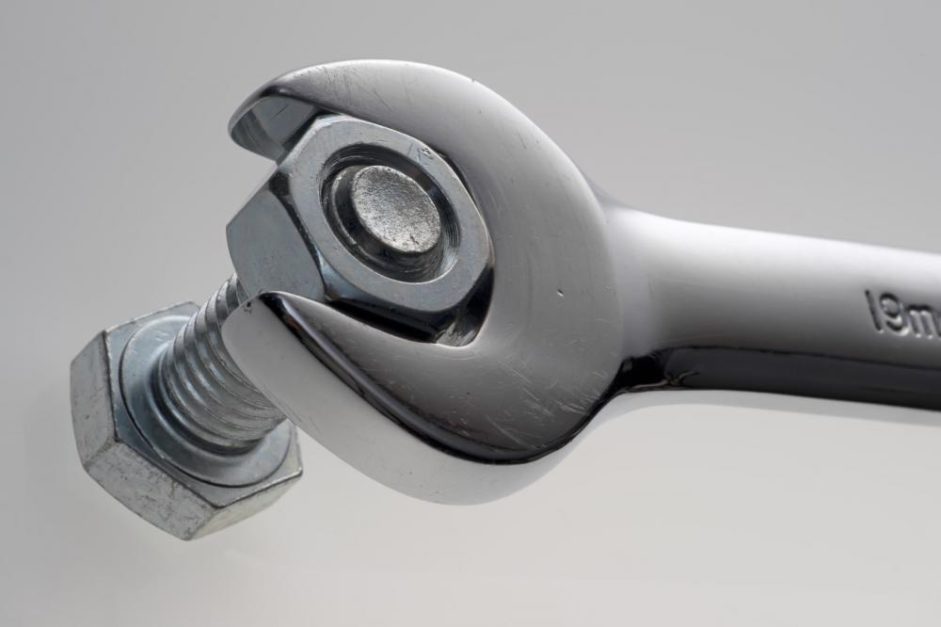
The most important thing to do is to remove the ceiling fan from its mounting bracket. This will expose all of the screws, which are likely to be loose and rattling around. Use an adjustable wrench or pliers to tighten these down as far as they will go.
A loose screw can cause a lot of trouble for your ceiling fan and even cause it to detach from its mountings. You need to make sure that every single screw on your fan is tight enough to hold it in place without causing any problems.
Try Replacing the Bad Capacitor
If the capacitor is faulty, you’ll need to replace it. The capacitor is a small box that stores electricity, and it’s responsible for keeping your fan running smoothly. If this part is faulty, the motor will continue to make noise even after you’ve turned off the fan.
To replace the capacitor, you’ll need an AC voltage tester (also called an AC voltmeter). This tool will let you measure how much electricity is flowing through your fan’s wires and through the capacitor.
Once you’ve measured how much current is flowing in the wire and in the capacitor, you can start replacing them together with a soldering iron.
Lubricate Your Fan Motor
If the fan motor is running smoothly and slowly, but the blades are still noisy, it can be due to the lubrication of the motor. You can lubricate your fan motor by using a small amount of oil or grease and rubbing it over the motor shaft.
Poorly Positioned Motor Cover
The fan’s blade brackets could be dragging on the fan shroud or motor housing cover, which could result in an occasional grinding or scraping sound.
Often, you may fix this by releasing the cover’s screws, moving the cover slightly and then tightening the screws again. Additionally, check to see that the blade brackets are tightly fastened and not rubbing on the cover.
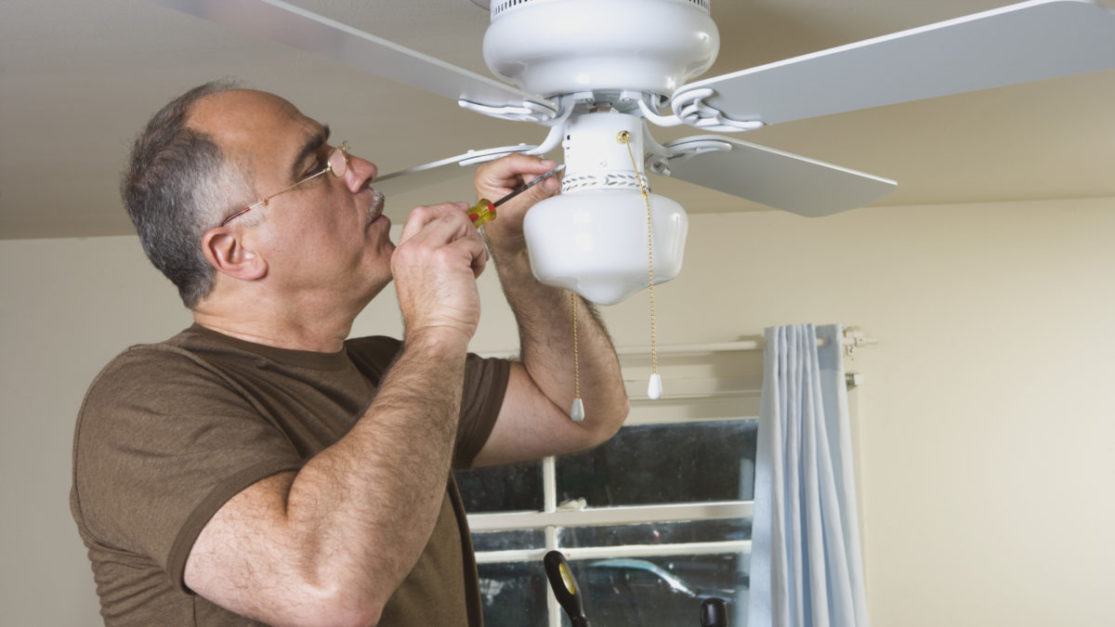
Loose Light Fixture Parts
Check that all of the globes, shades, bulbs, and other light fixture components are securely fastened. The majority of globes and shades are held in place with hand-tighten cable thumbscrews. You risk over-tightening the screws and maybe cracking the glass if you use tools on these.
You can place a strong rubber band around the neck of the globe or shade. Then, You can reinstall it with the screws if tightening the fixture pieces with their screws doesn’t make them snug. Rubber “silencer” band sets are also offered by fan manufacturers for the same use.
Replace the Old Ceiling Fan With a New One
If your ceiling fan is making a whirring noise, it may be time to replace it. The reason this happens is that the blades of the fan are not holding up well and need to be replaced. You can replace the blades yourself in a few simple steps.
Step 1: Take down the old ceiling fan by removing the screws that hold it to the wall or ceiling.
Step 2: Use a screwdriver to remove each of the screws holding your old ceiling fan in place. Once you have removed all of this, you can pull it down on your new ceiling fan and set it into place over one of its mounting holes on the wall or ceiling. This will allow for a better fit for your new blade assembly. This helps it from rattling around as much when your ceiling fan is running.
Step 3: Attach each blade assembly onto its mounting hole using screws provided with each piece. These should come with special threading designed for use with this type of mounting system.
For more information, visit Graana blog.